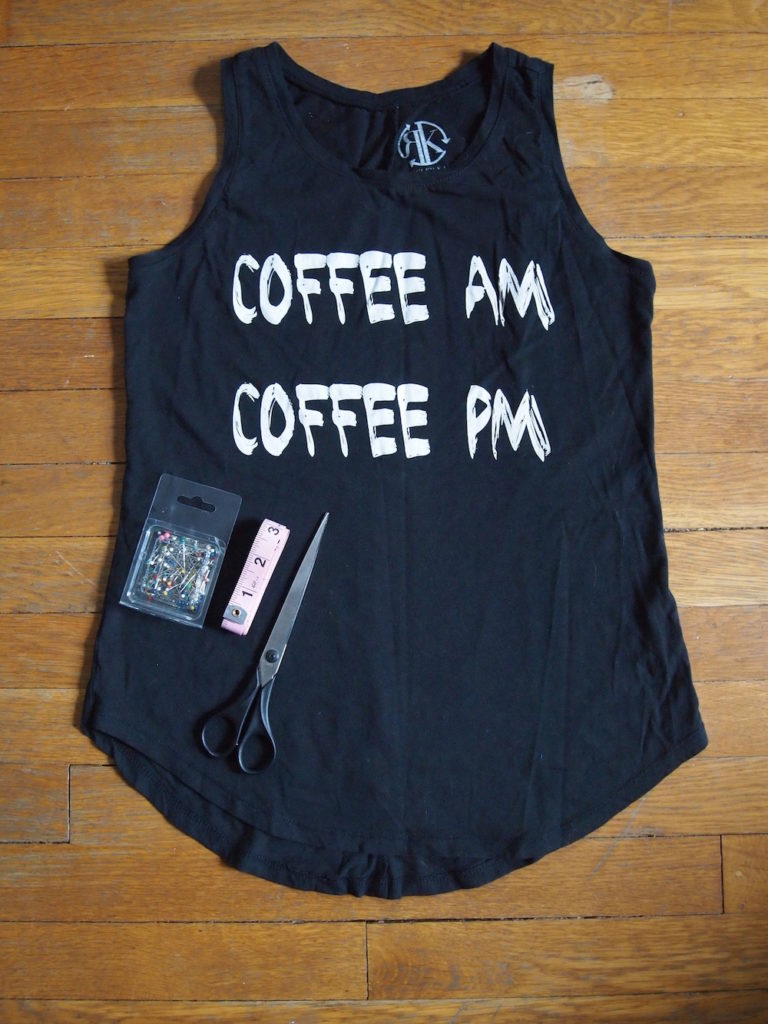
Have a graphic T-shirt you never wear anymore but can’t bear to get rid of it? Or have you ever seen a funny T-shirt in Forever 21 but would never wear it? Use this DIY trick to make the perfect decor to personalize your dorm. The best part is that it’s easy and cheap!

1—Pick your T-shirt. Preferably one with a cool print or funny phrase.

2—Gather your tools. You don’t need much: just some pins, scissors, chalk, or pillow stuffing. Use either a sewing machine or hemming tap for a no-sew option, and measuring tape if you’re particular like me.
3—Decide on the shape of your pillow and the size. For this pillow, I decided to make it a rectangle and kept a one-inch border around the graphic.
4—Outline with chalk. Use it as a guiding line for when you start to cut.

5—Cut along your chalk line. Do this on the top layer of the shirt. Then use that as a stencil for cutting out the back panel.

6—Pin the two pieces together. First, make sure the sides you want on the outside of the pillow are facing each other. Pin along the edges.
7—Sew along the edges. Make sure to leave a two-inch gap on the sides. As an alternative, you can use hemming tap instead of sewing.

8—Turn the pillowcase right side out. Do this using the gap you left and make sure to push out the corners.

9—Stuff it. Fill the pillow case with pillow stuffing. I used polyester fiber fill. Add as much as you want. The more the fluffier!
10—Hand-sew the gap shut.
Violà! You have a decorative pillow in 10 simple steps. Show us your DIY pillows on social media! Don’t forget to tag @CFashionista.

