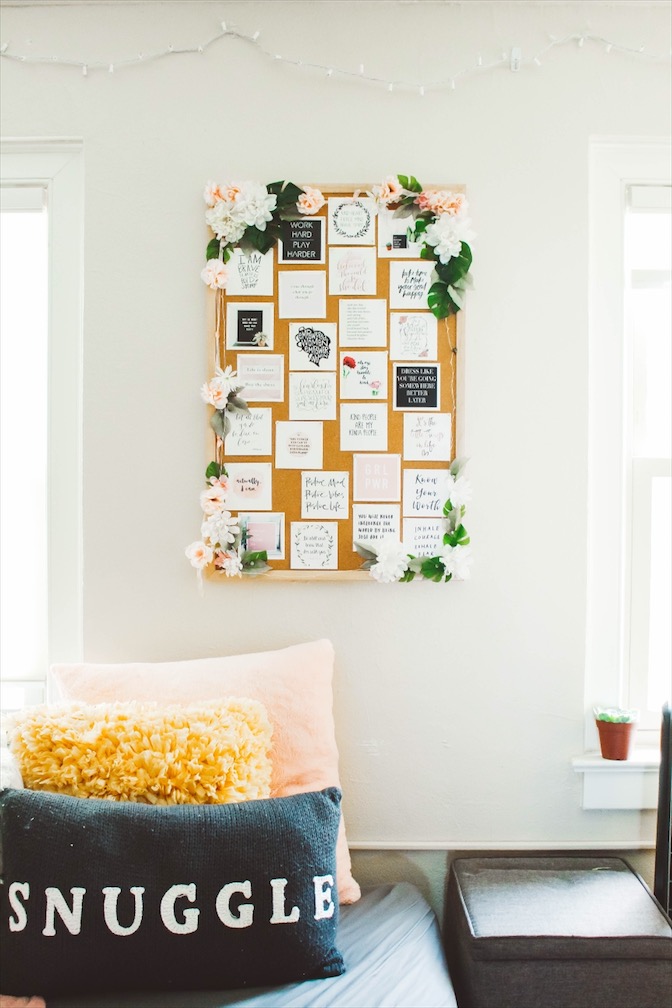
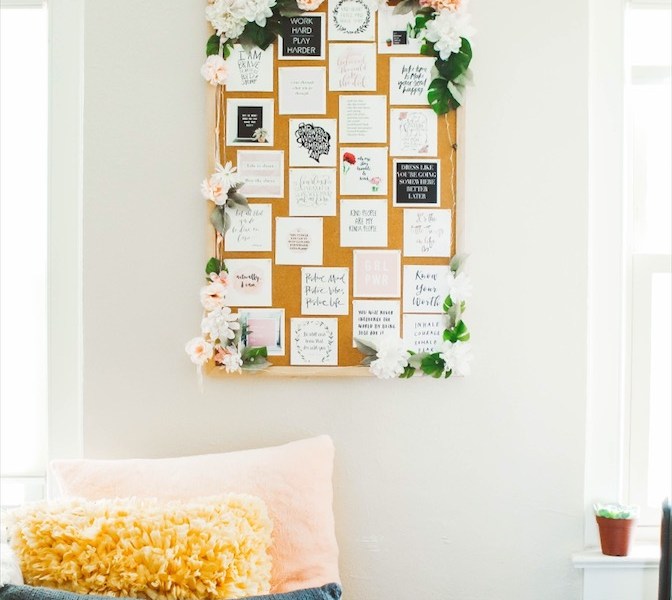
I’ve always been terribly sentimental. That picture frame that I hate but was gifted to me from my grandmother? I can’t throw that away. Old birthday cards? I’ve been saving those for years. A skirt that I once loved but the zipper is broken? Better save that just in case! I’m one step away from being featured on Hoarders. However, I am also a neat freak who hates piles of cards and unwanted knickknacks lying around the house. These two parts of me seem to clash. However, after spending an embarrassing amount of time on Tumblr, I found my solution—collaging.

PHOTO: Jordyn Wissert
The golden rule of collaging is that once you incorporate those scraps into the collage, those scraps take on a purpose. Scraps lying in the back of the closet? Trash. But scraps in a collage? Now that’s treasure. I just moved into my very first big girl apartment, and there are five bedrooms and three living rooms (aka lots of wall space). This is every collage maker’s dream. Here are three easy steps to make a collage.
1—Gather materials
You will need glue, scissors, poster board, and scraps. For my collage, I collected scraps that included everything from magazine clippings, old birthday cards, and fabric from a skirt that has a broken zipper.
2—Glue it down
Before you glue the scraps down permanently on the poster board, play around with the arrangement of the scraps. When you finally find the perfect positioning, glue it down onto the poster board. (Added bonus: holding a glue gun will make you feel like such a boss).
3—Hang it up
Find a perfect spot in your apartment or dorm to display your collage! I’m going to hang mine up over my bed so that I can see it first thing when I wake up. I’m planning on buying more wall art to fill the rest of the blank walls in my apartment.
September is a prime time to collage to make your dorm or apartment look sharp! Share your results on social media and don’t forget to tag @CFashionista.
Additional photos by Lex Kelly and Valerie Cammack.

