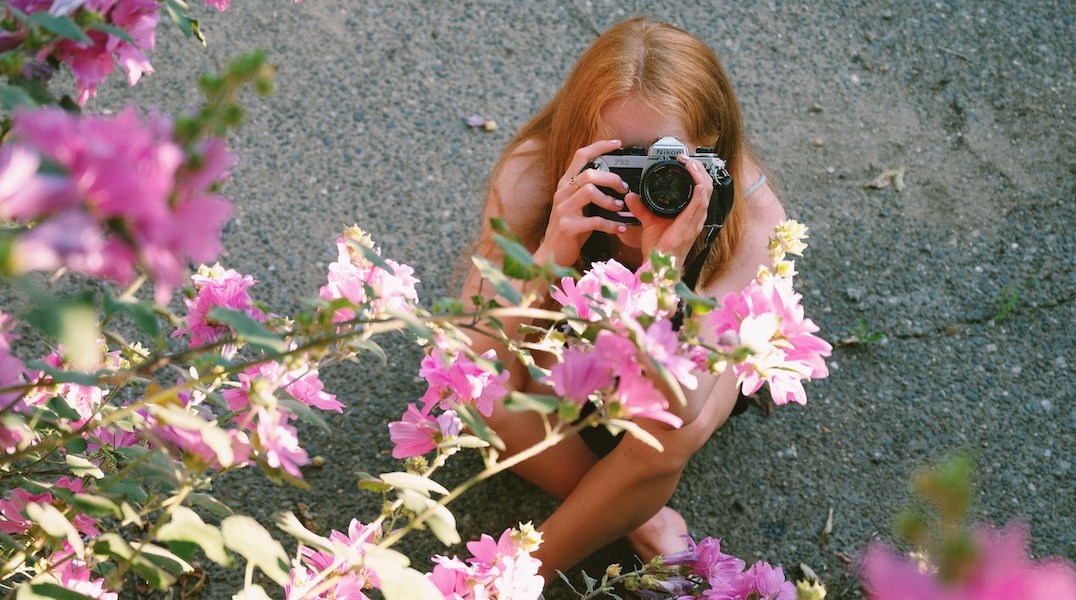
Whether you are picking up a film camera for the first time, or you are an experienced photographer looking for a few extra tips and tricks, this film photography crash course is for you! I love film photography because it has taught me how to see the world from an artistic point of view. There is something timeless and beautiful about film photography. The slight graininess and vibrant colors that are unique to film photographs bring a magical and dreamlike quality to the images that you choose to capture. In this article I will be sharing everything you need to know about film photography in order to get started!
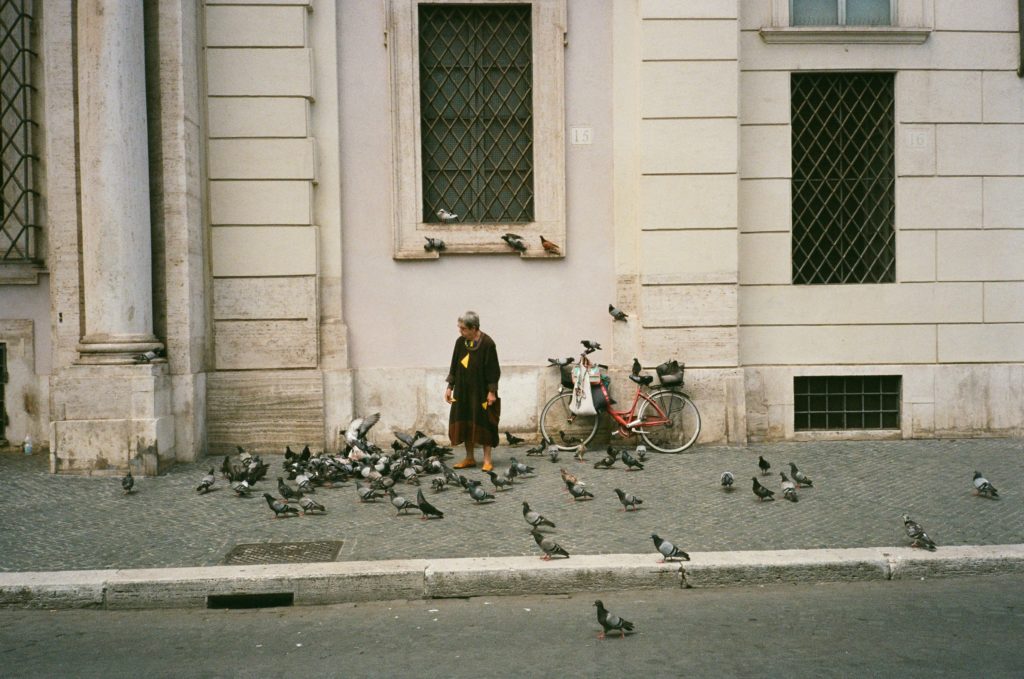
Camera Basics
If you’re new to film photography, terms like 35mm, shutter speed, ISO, and aperture, can be confusing and sometimes even intimidating. But don’t worry, these camera fundamentals are easy to use once you understand them, and some cameras will even set these functions automatically for you. The more advanced you become in film photography, the more you can explore and adjust these tools for yourself. Below is a simple explanation of each term for beginners.
- 35mm: 35mm simply refers to the size of the film. 35mm film is small, with an aspect ratio of 3:2. Almost all disposable cameras or point-and-shoot film cameras use 35mm film, making it the most widely used.
- Shutter speed: the shutter is how fast or slow your camera lens opens and closes to take a picture. The slower the shutter speed, the more blurry your photos will be. My simple rule of thumb is that I always make sure that my shutter speed is set at 1/125 sec or faster. Additionally, many beginner film cameras already have an automatic shutter speed, so you won’t even have to worry about adjusting it yourself!
- ISO: ISO is how sensitive your film is to light. The higher the number, the more sensitive to light the film is. I always shoot with ISO 400 speed film and this works great both indoors and outdoors. I highly recommend always buying 400 speed film especially if you are a beginner.
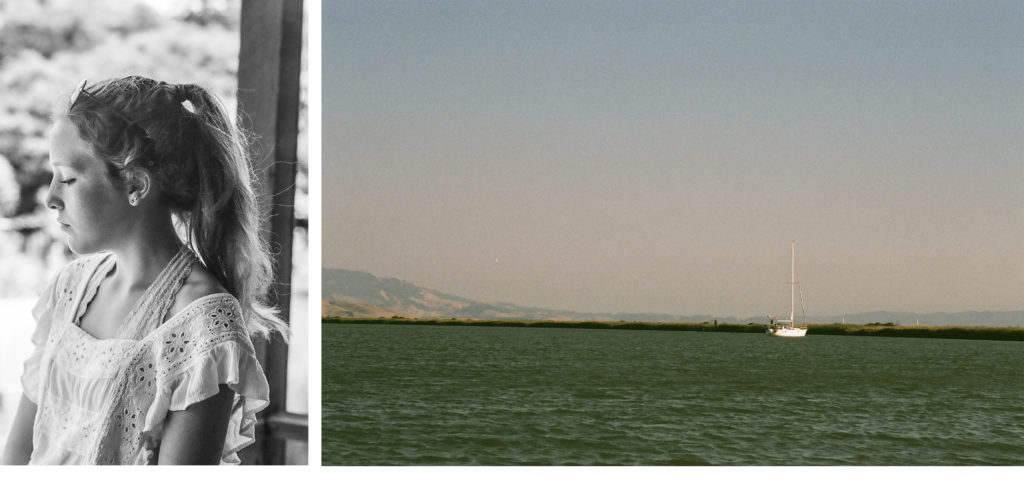
- Aperture: This is the size of the opening of the lens of your camera. The wider the opening, the more light is let into your camera when you take a picture. The aperture also controls what is in focus. The notation “f” that you will often see refers to the focal length of the camera lens. When the lens is more open and lets more light into your camera, the background in your photo will be blurry, (this looks like portrait mode on your iPhone). For portraits, you might use an aperture of f.4. By contrast, for landscape photographs, you might use an aperture of f.16. When your aperture is set at f.16, the opening of your lens is smaller and everything is in focus. Aperture is often the most confusing tool to understand for beginners because the numbers go in the opposite direction of the lens opening. The higher the number, f.16 for example, the smaller the opening of the lens. Below are two photos with very different apertures. The photo on the left has an aperture of f.4 and the photo on the right has an aperture of f.22.
Film Cameras
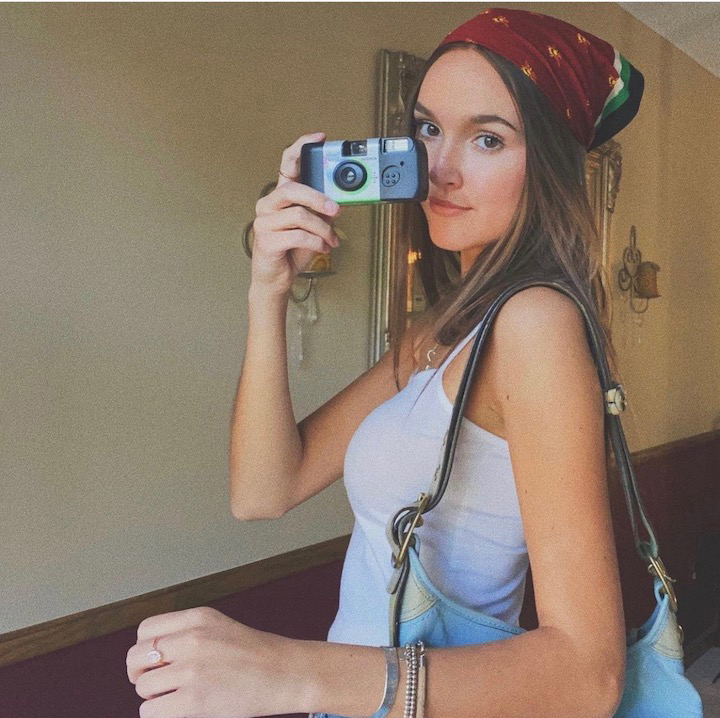
My favorite disposable camera is Fuji’s Quicksnap single-use 35mm camera. Each camera is fully automatic, comes with a built-in flash, and you get 27 shots per camera. This is the best single-use film camera out there for beginners. I love this camera for camping adventures, birthday parties, and concerts. It is small, easy to fit in your pocket, and durable, plus Fujii even has a waterproof version. You can find this camera at Walmart, on Amazon, or at your local drugstore. The cost of the camera typically ranges from $10 to $15.
Since many film cameras are no longer manufactured, hand-me-down film cameras are some of the best. My film camera, a Nikon FE2, used to belong to my grandfather. I also reached out to some of my college friends who enjoy shooting film too, and both of their cameras are hand-me-downs as well. Anna Nuler, a senior at Bard College in New York, shoots with a 35mm point-and-shoot Olympus camera, and Bridget Hawkley, a senior at University of San Francisco, photographs with a Canon TX. So, ask your grandparents, parents, extended family, and friends, if they have an old film camera lying around that you could use! Garage sales and antique stores can be great places to find old film cameras too, but you need to be cautious — you can’t be certain if the camera is in full working condition until you test it out.
If none of your family members have an old film camera lying around, but you want to ditch the single use point-and-shoot drugstore camera, the Ilford Sprite 35-11 film camera or the Harman Technology reusable 35mm film camera are the film cameras for you. Both of these easy to use reusable film cameras have a built-in flash, and they cost under $35.
Purchasing Film for Your Reusable Camera
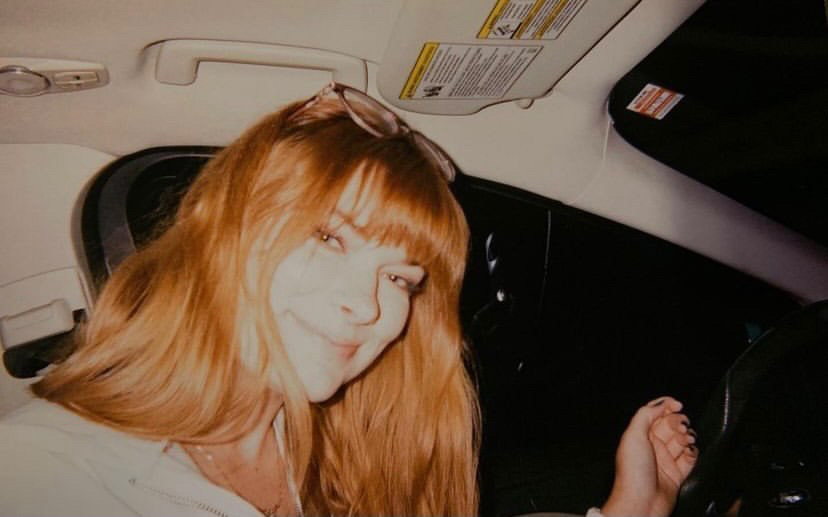
When purchasing 35mm film for your camera, it is almost always cheaper to buy it in bulk. My favorite two types of film are Ilford hp5 plus black and white 400 speed film, and Kodak UltraMax 400 color film. And, whether you live in New York or not, B&H Photo Video is the best supply store to purchase both of these types of film. The B&H Photo Video store is used by many photography students at Bard College, including myself, and I’ve always found them super helpful and efficient.
Getting Your Film Developed
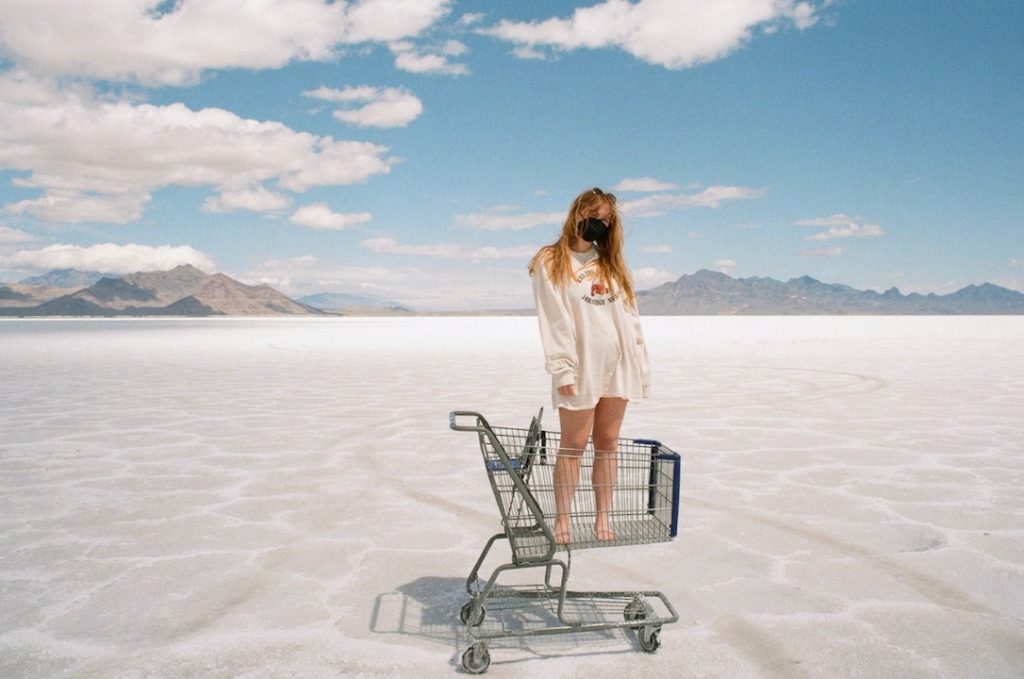
Rather than getting your film developed at your local drugstore where it is often expensive and the turnover time is long, my favorite place to get film developed is at The Darkroom. The Darkroom is a darkroom located in California that allows you to send your film in through the mail. When you order through The Darkroom you get your film negatives plus free standard scans of all your images which you can download right to your phone, perfect for posting to Instagram! It costs $14.00 to get a single-use camera developed and $12.00 to get one roll of 35mm film developed. I always recommend that you order standard scans and no prints, and I will tell you why in the next section.
Where to Print Your Photos
I have no idea why this app isn’t more talked about, but it is one of my favorite photo apps of all time. FreePrints is a photo app that allows you to get 85 free 4×6 prints per month. Yes this is true, and there is no subscription or membership fee required, all you need to do is pay for shipping. In addition, they are great quality! This is the perfect app to dump all your film photos, or even just your camera roll or Instagram feed into every month! FreePrints is the perfect high quality, yet affordable way, to print out all your photos and create an adorable and personalized photo wall. I love having cute new prints to hang on the wall in my dorm room at school.
Over the last few years I have seen film photography grow in popularity over Instagram. I am so excited that more and more people are experimenting with film photography and sharing their own creative images. Film photography is so fun in the way that it can be enjoyed by both beginners and professionals. I am constantly inspired by the film photographs I see on Instagram and I am super excited to continue shooting film myself!
Featured photo by Hannah Nichols

