Sometimes it’s hard to keep our makeup and vanities organized. Let’s be real, makeup organizers can get pricey. This DIY makeup holder is cheap, cute, and clutter-free – plus, you can customize it! I’m going to show you step-by-step how I made this for my tools.
Supplies
- a shoe box
- ribbon (around ⅝ an inch thick is probably best)
- decorative paper
- filler
Step 1—First you will need to take your shoe box (the top isn’t needed) and fill it with a filler. This will give your makeup something stand up on, and keep it from falling down into the box later on. Originally I bought a bag of small decorative pebbles to use for this, but the layer wasn’t thick enough to hold my makeup up so I had to improvise. To be honest, I stuffed the box with crumpled up tissues and I liked the result much better! If you prefer the decorative filler, just make sure you have a layer of it at least a few inches thick—depending on the depth of your box—so that your makeup doesn’t sink.
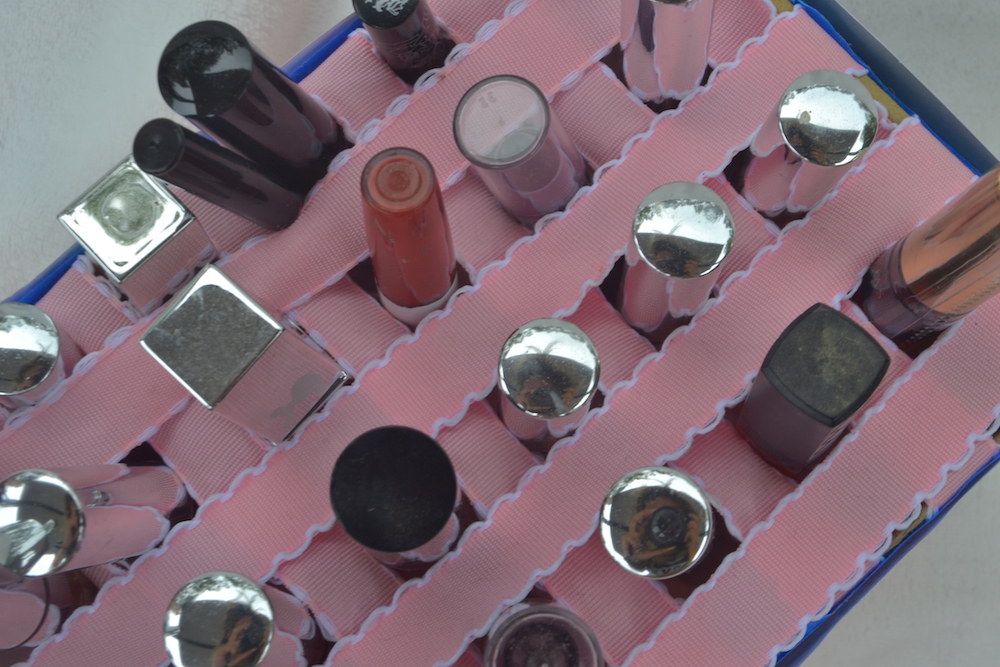
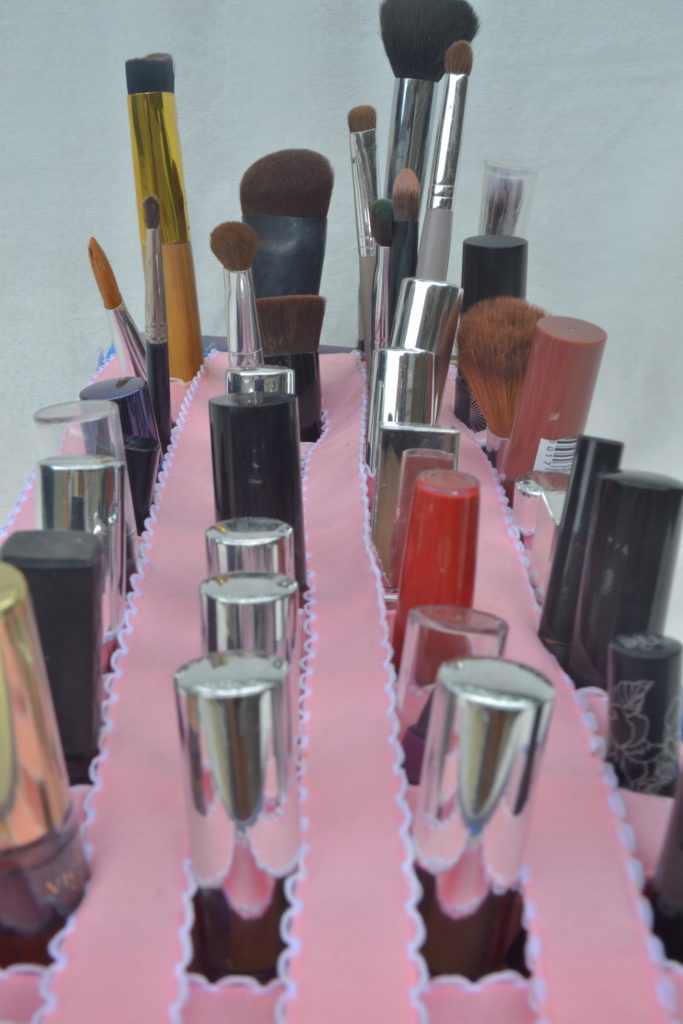
Step 2— Once your filler is in the box you’re going to make a grid across the top with ribbon. To do this I hot glued each piece of ribbon to one end of my box, folding it about ½ an inch over the side, stretched it across to the other side and hot glued it to the opposite side. Make sure to pull the ribbon tight (if you leave it loose it won’t hold your products up).
You will do this down the entire length and width of the opening of your box in order to make your grid. Be sure to space your ribbon out enough that your product can fit in between the spaces. I used a ColourPop liquid lip to measure my spacing out as I went along.

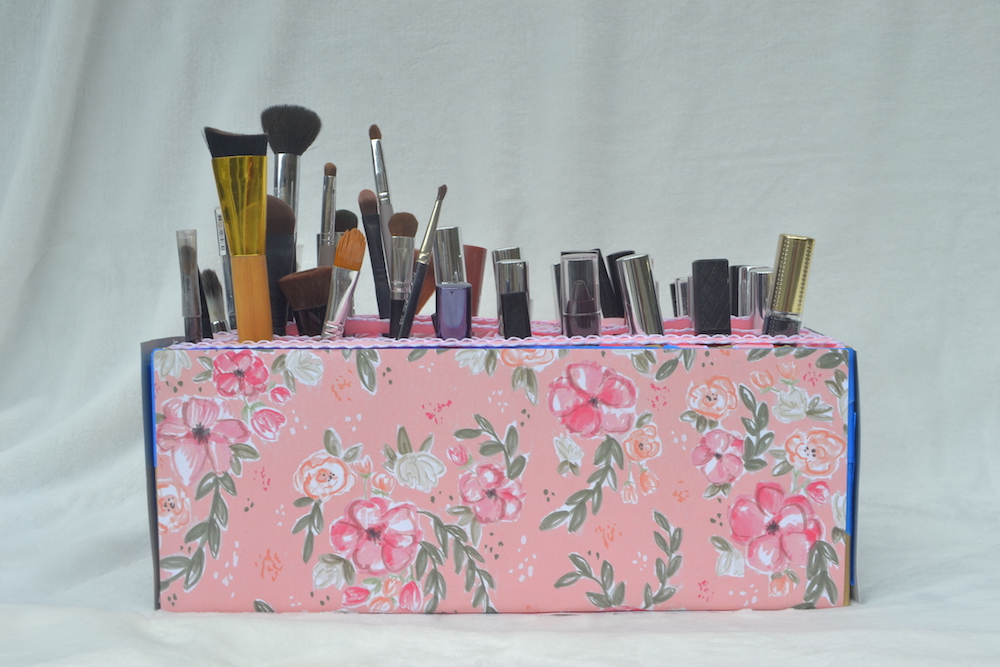
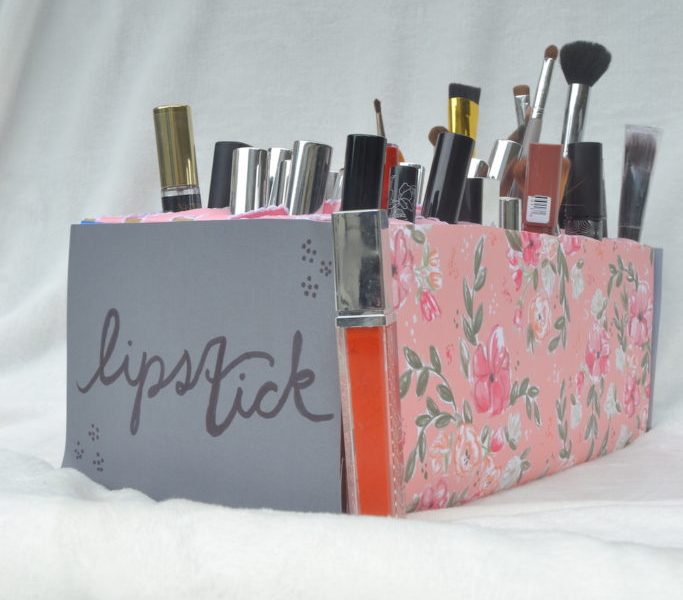
Step 3— After your grid is completed, it’s time to decorate! I covered the long sides of my box in floral scrapbooking paper and the small sides in plain paper to match. I hot glued the paper down and then labeled one side with “lipstick” and the other side with “brushes” since that’s what I planned to keep in mine. Covering it with the paper allows you to hide the fact that it’s a shoe box.
There’s no wrong way to decorate. Cover it all in plain paper or bedazzle it to the heavens—sticker it or doodle on it.


Step 4—Fill in that grid with all your makeup!

I like my things to be easy to see while I’m doing my makeup rather than being cluttered in a cup, jar, or bag. This project is easy and super affordable. For the most part, it can be made with things you have around your house. The items you may need to buy can be bought at your local craft store for really cheap (my total: $9).
If you try this out, post a picture and tag @Cfashionista so we can see your DIYs!

