I love having my nails done and decorating them with extravagant designs. But instead of heading to my nearest salon, I go straight to my cupboard of beauty magic. (Everyone has one of those, right?) I have used used tape, newspaper, and all of the fun Pinterest fads—you name it I have tried it.
To create simple and stylish nail art designs, all you need are a few simple tools and items you probably already have in your medicine cabinet! 
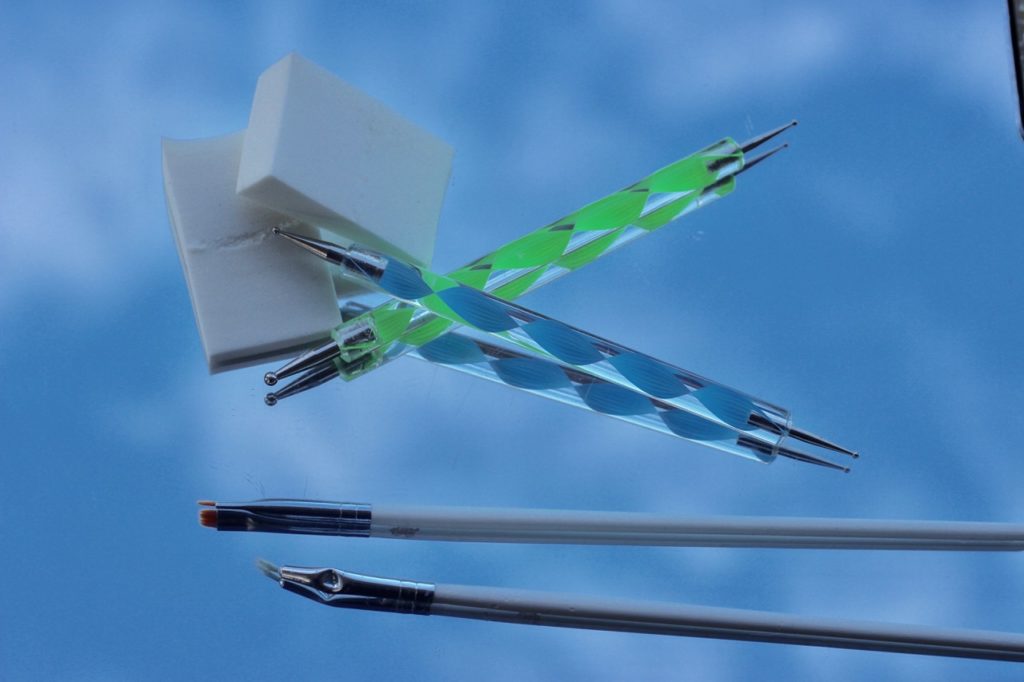
Dotting tool: A dotting apparatus can achieve a great many looks including but not limited to: polka dots, flowers, cherries, clouds. You simply dip the tip of the tool into the nail polish and lightly dot the polish onto your nails, making sure not to press too hard onto the polish below it. If you don’t have a dotter of your own the tips of bobby pins and paperclips will work, but I’ve found that investing in a tool meant for nails will save you a lot of time and frustration. 
Brushes: Using old makeup brushes, paintbrushes, or actual nail art brushes can help add special little details to your art, and it’s not as hard as it looks. The stems on the cherry look was achieved by simply lightly coating the brush in paint, and with a steady hand, making three little marks on the nail. Make sure you soak your brushes in acetone afterwards to remove the polish from the bristles.
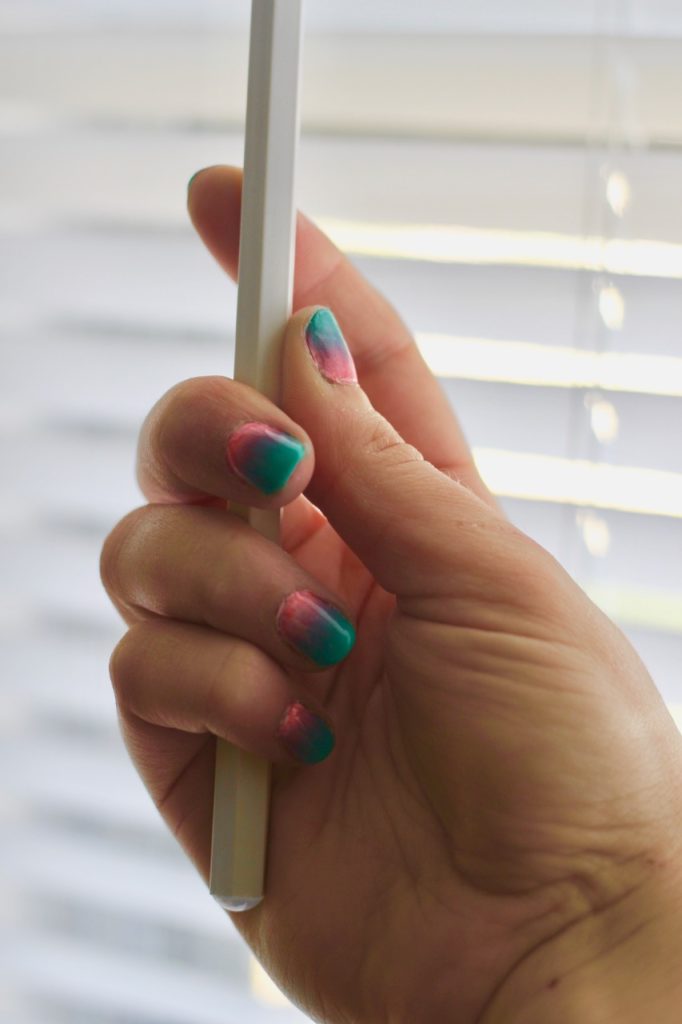
Sponges: Cosmetic sponges from your local dollar or drugstore can quickly help create an ombré effect on nails. Coat a small corner of the sponge in stripes of the shades of your choosing, and press the sponge onto your already polished nails. It will take a few times to transfer the color to a desired opacity, so keep adding dollops of the polish onto the sponge and dab it onto the nails. Choosing a lighter shade to be the base coat is the best way to go to achieve a bright and opaque look. 
