Although next semester seems far away, it’s never too early to start planning some cute decorations for your dorm or apartment! This is also a good time to look through some of your old school supplies from last semester because we’re going to use some of them in the sustainable DIY I have for you today: Faux Polaroid photos!

You will need
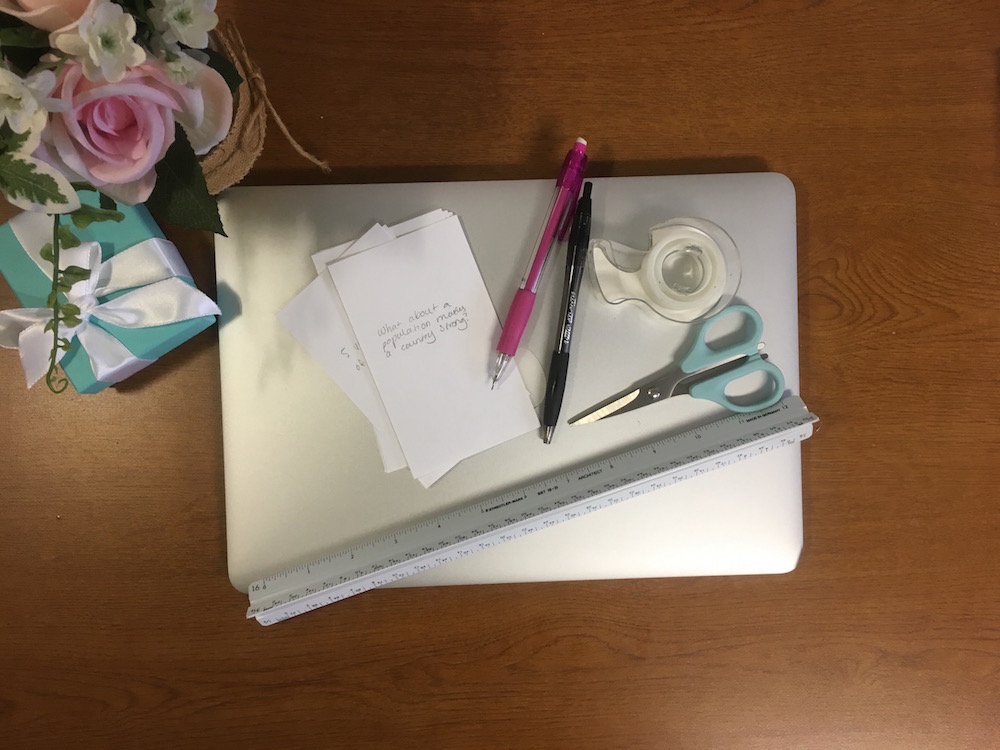
- Access to a computer
- Access to a printer with paper
- Used 3” x 5” note cards (one per “Polaroid”)
- Glue or tape
- Scissors
- Ruler
- Pencil
- Black marker or pen
1—Choose your photos. Find your favorite photos from Facebook, Instagram, or any other digital photos that you may have. Download them or drag them to your desktop and keep them in their own folder.
2—Crop your photos (if necessary). Open each photo from your folder in a photo-editing application and crop them to fit a square. Save all of your changes.
3—Add all of your cropped photos to a blank document, resize them, and align them. Open a new document in the writing application of your choice. Drag each photo from your folder and place them in the document. You can click the corner and drag it to resize them. They should fit 2 ¾ inches x 2 ¾ inches. Once all of the photos are the correct size, place them in six rows of two along two pages. Leave some room in between each photo in case of mistakes while cutting them out.
4—Print and cut out your photos. Print out your document and carefully cut out each photo. Recycle all scraps.
5—Mark your note cards. Place a note card vertically in front of you. Make sure that the bottom half of the note card is clear of any writing and unwanted marks. Make three light marks from the top and both sides going ⅛ of an inch inwards towards the center. Repeat this step for each note card.
6—Attach your pictures onto the note cards within the marks. Apply glue or tape to the back of your photo. Use the marks as a guide to place your photo on the note card. If you’ve cut your pictures a little too small, just make sure the photo is equidistant from the top and two vertical sides. Next, gently erase any pencil marks that are still visible.
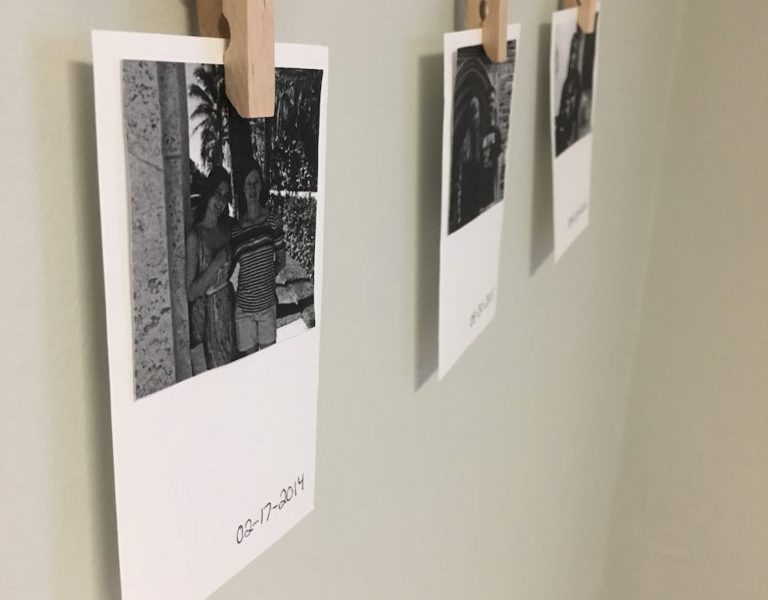
7—Write fun captions for each photo. There are many options for this step! Are you classic and understated? Just write the date that the photo was taken in the bottom corner. Are you more poetic and sentimental? Write a few words to describe the memory from the photo. Or, if you’re a chic minimalist, you can just leave it blank!

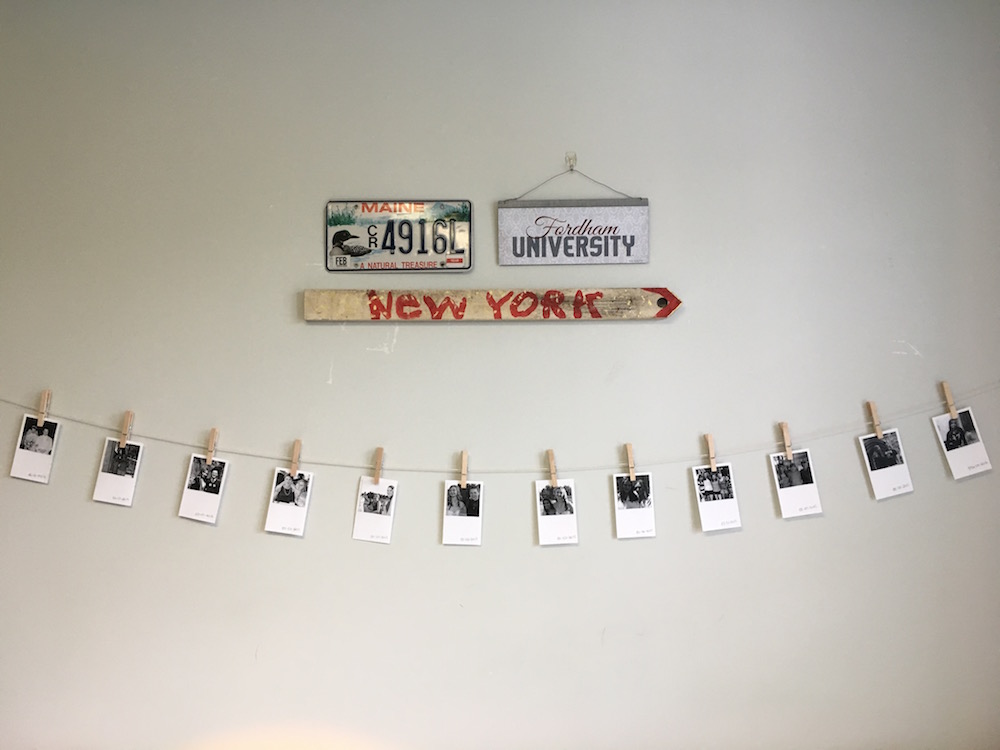
8—Decorate. You can hang your “Polaroids” on a clothesline with clothespins, attach them to your wall, or whatever you want!
What do you think of the vintage Polaroid trend? Show me how this DIY went on social media, and be sure to tag @CFashionista!

